Engine installation
The gridmo software platform is comprised of the web application and the Engine. In this installation guide, you will set up the Engine on a Windows OS machine. Please refer to the minimum system requirements for the Windows OS machine.
Step 1: Download
Download the Engine Updater Windows MSI which will allow you to install the latest version of the Engine. By downloading, you agree to the End User Licence Agreement. Please refer to your welcome email for the download link.
Step 2: Install
Run the Engine Updater Windows MSI and follow the prompts to install the Engine.
When running, the Engine Updater will say an update is available. Accept this update to install the latest version of the gridmo Engine.
If you do not accept the prompt during the installation process, click on the 'gridmo Updater' desktop shortcut created after you complete the gridmo Engine Updater installation.
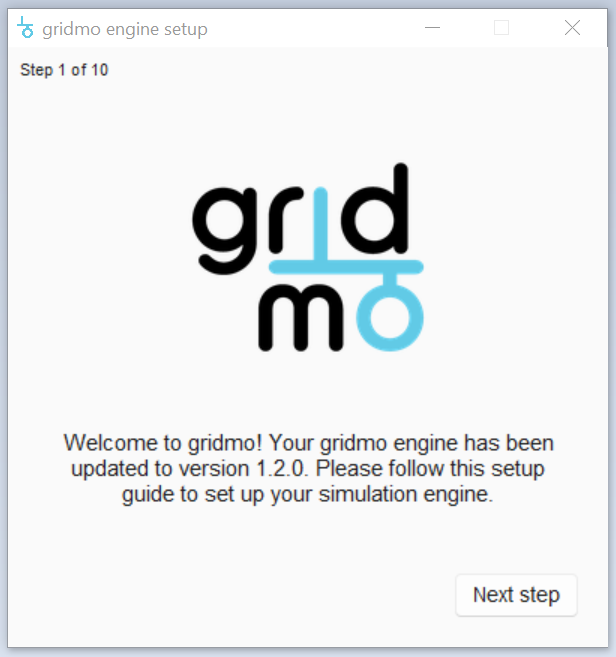
Step 3: Set up wizard
Once the installation is complete, the Engine Setup Wizard will load automatically. This is a multi-step process to guide you through the configuration of the Engine. Follow the prompts to configure the Engine.
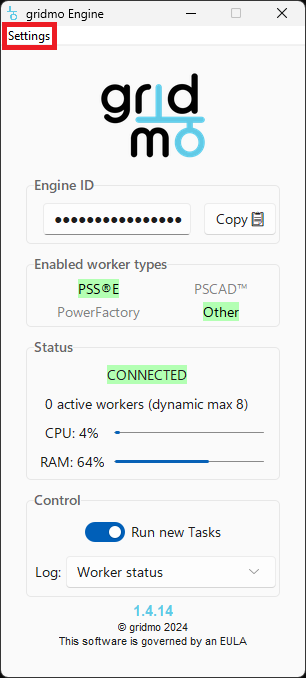
(Optional) Step 4: Configure settings
To make changes to the Engine configuration after the Engine Setup Wizard is complete or configure additional settings, select Settings at the top left of the Engine window.
Additional plot settings can also be configured in admin settings in the web application.
Custom font
Use a custom font on plot outputs by completing the following:
- Export the True Type Format (*.ttf) file of your desired font from Windows Font Settings.
- Rename the font file as
plotfont.ttf, noting that the required file name is case sensitive. - Copy and paste the font file into the following directory:
%APPDATA%\gridmo Enginefor per-user installations.%PROGRAMDATA%\gridmo Enginefor per-machine installations.